Disclosure: This post contains affiliate links. As an Amazon Associate I earn from qualifying purchases, at NO extra cost to you.
Have you been living with a bathroom you hate?
I have – for the past 2 years!
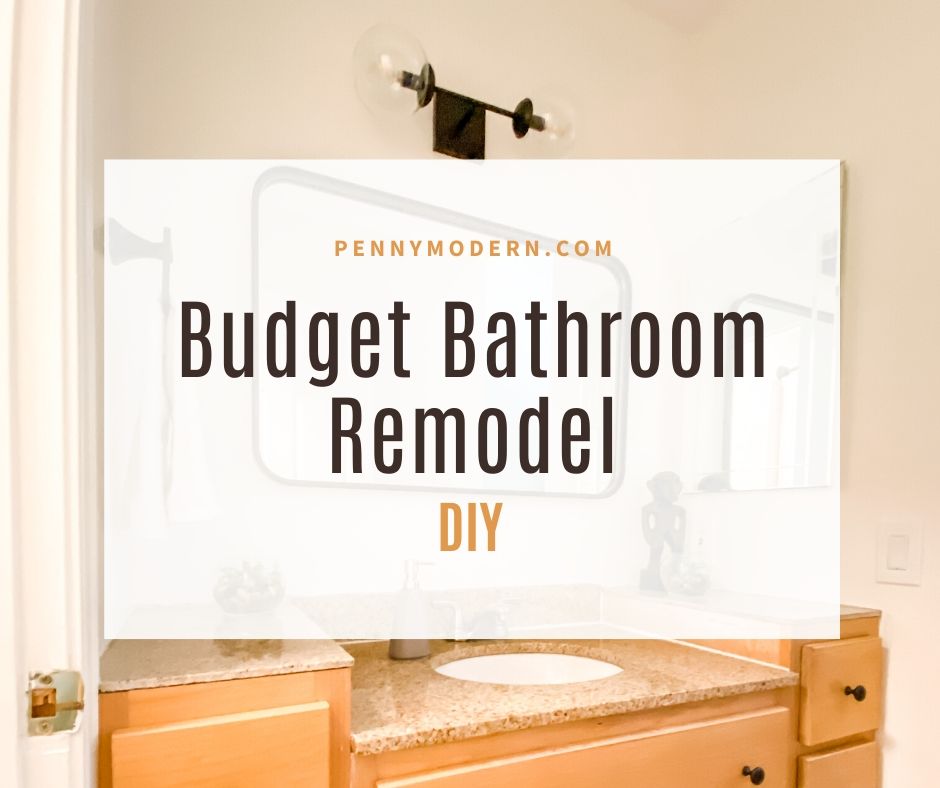
If you are ready for a budget bathroom remodel and are willing to put in a little work to save a lot of money, then this post is for you! Don’t worry – no demo required!
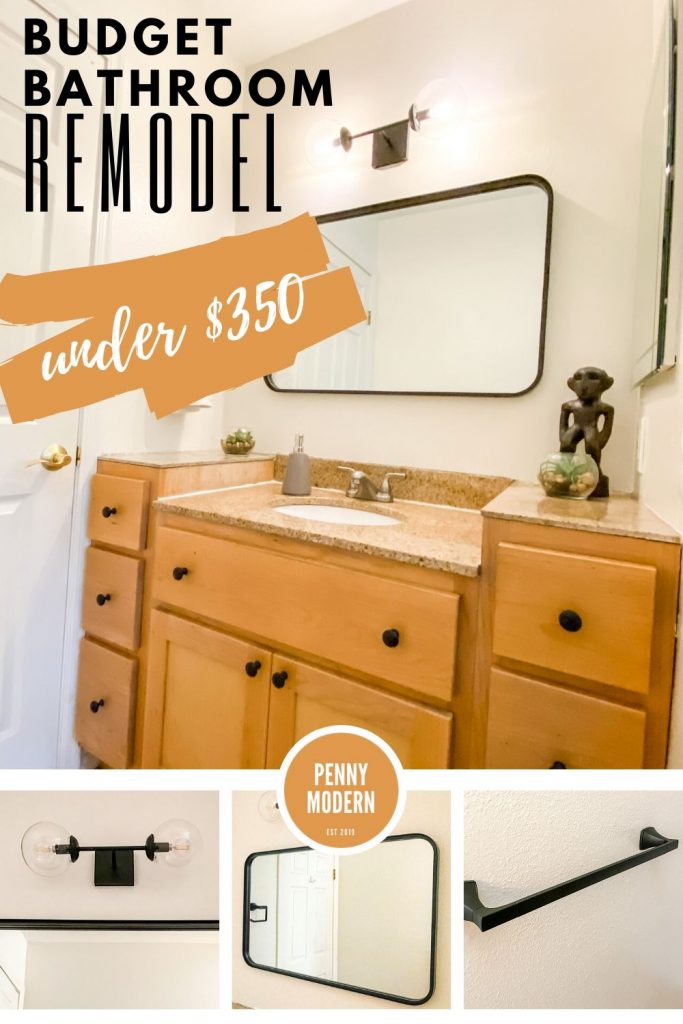
I’m going to give you a step-by-step breakdown on how to take your bathroom from meh to modern for under $350. The main way we’ll stick to this budget is by using a LOT of paint, and avoiding doing ANY demo. I’ll give you affordable sources and pro tips for getting a clean, modern look that will make your small bathroom seem bigger and more spa-like.
Here are the steps we’ll cover for our budget bathroom remodel:
- Make a plan and create a moodboard
- Clean and prep for painting
- Paint the walls
- Paint the hardware & shower curtain rod
- Change out lights
- Change out mirror
- Clean again
- Accessorize!
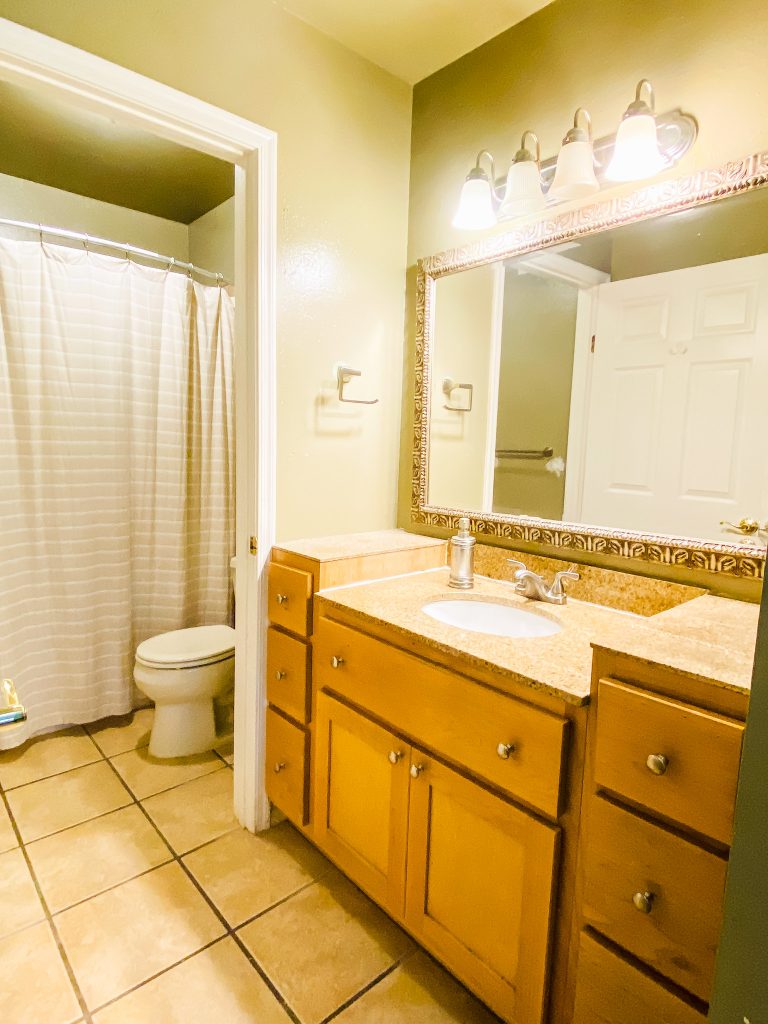
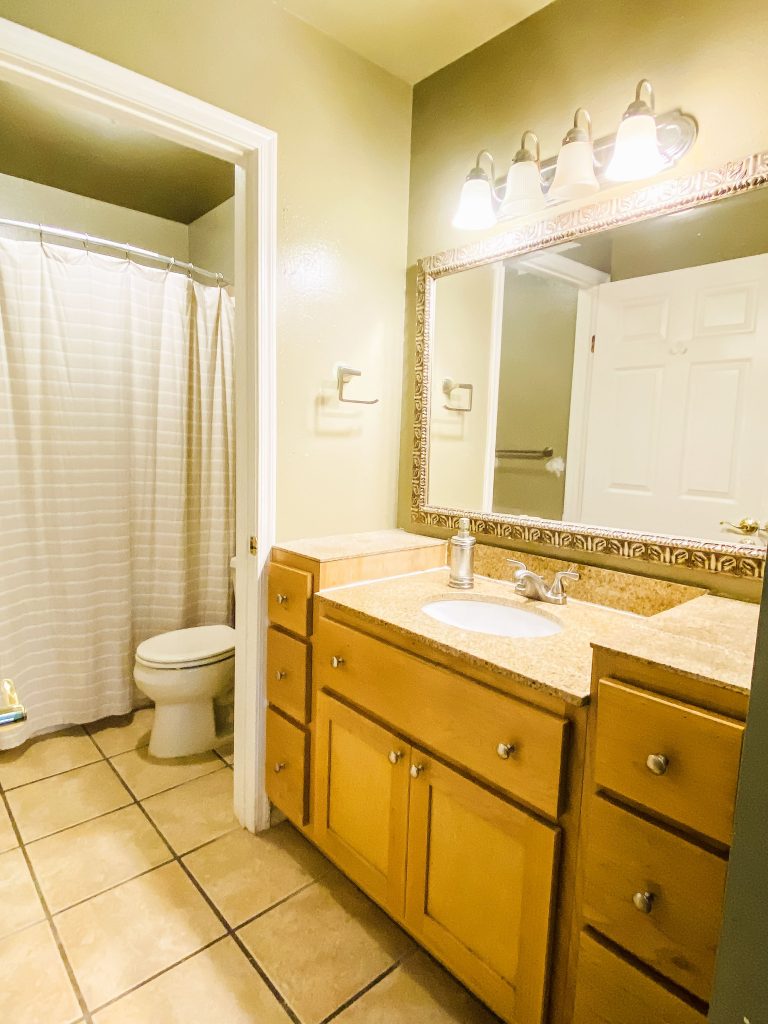
When we bought our condo the whole place had been painted a pleasing light grey – except for the Master Bedroom and Master Bathroom. That was left a lovely dark khaki brown and light beige combo. Oy!
So here we are 2 years later – and I’m finally tackling this project since I’ve been at home a lot more lately. My goal was to do this for under $400 – which we did by doing the work ourselves, painting our hardware, and finding some hot deals.
General material list (totaling less than $350):
- Klean-Strip Liquid Sandpaper – $9
- Behr Premium Plus Swiss Coffee Semi-Gloss Enamel Low Odor Interior Paint and Primer in One – $32 for 1 Gallon
- Rustoleum Spray Paint – Auto Matte Finish Black – $7
- Rustoleum Primer – $4.27
- Rustoleum Top Coat – Matte – $10
- Vanity Light – Trade Winds Angie – $75
- Flushmount Overhead Light – Overhead Integrated LED Light – $50
- Threshold Studio McGee Black Rectangular Mirror from Target – $70
- Bathroom Accessories – $25
- Shower Curtain – $20
- Bathroom Rug – $25
OK let me break it down for ya…
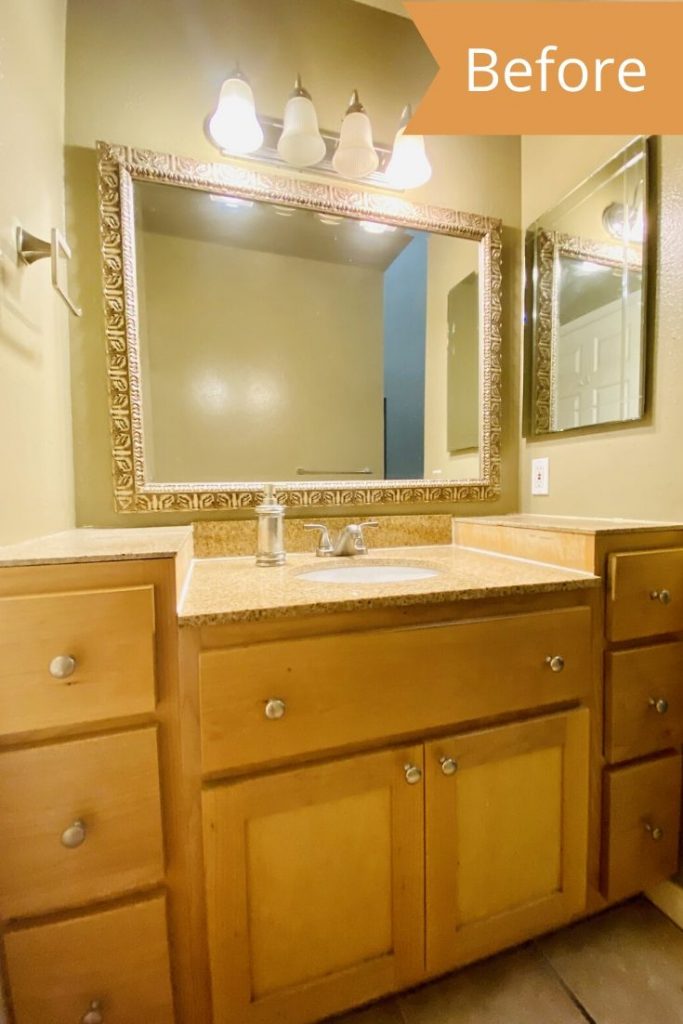
Here is what I was starting with (AKA The Before Photo):
Plan and Moodboard
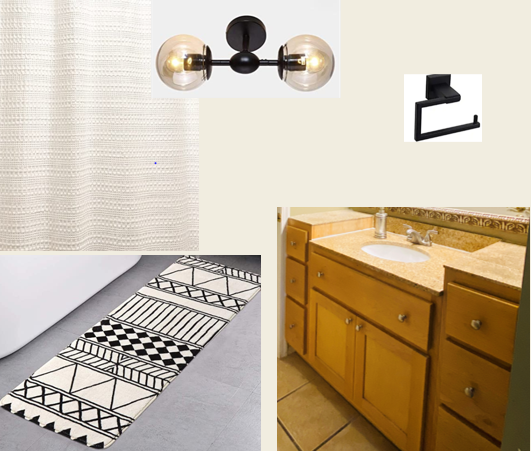
First things first – I needed a plan! I always start my projects with a few Pinterest searches and then make a moodboard showing whatever items I want to keep, along with anything new. That way I can make sure everything goes together.
My moodboard below shows my vanity, which I wanted to keep, with some ideas to achieve the bright, clean, modern look I wanted. I used a tribal/boho bath mat as my inspiration piece.
My master bedroom was a beige and khaki color scheme from the old owners so I needed to keep color scheme fairly neutral. The paint colors I chose were Behr Swiss Coffee for our walls and matte black for our hardware that would provide a nice contrast with the walls.
Clean and Prep
Next step of our budget bathroom remodel is cleaning and prepping. Not my favorite step, I’ll be honest.
Clean
By cleaning, I mainly mean cleaning the walls, since there was dust, hair, and nasty stuff everywhere. So I just washed the walls with a wet rag and a scrubber.
Prep
Next comes prepping the walls. If you have semi-gloss on your bathroom walls, which you probably do, you may want to remove the gloss to make the new paint stick. I found the easiest way is to use Klean Strip Liquid Sandpaper which deglosses the shiny coating. You can just wipe it on with a sponge.

Pro Tip: Take off all the light switch covers, hardware, and any light fixtures or mirrors you are going to replace. This way you won’t have to do touch ups later when you change them out (found this out the hard way).
Fix Texture (if needed)
My walls were in bad shape – which is why I waited 2 years for this project. The texture on my walls was honestly the worst texture job I have ever seen. So, I actually had to re-texture my walls, using Homax orange peel spray texture. This was scary at first, so I watched a couple of YouTube videos and went for it.
Pro Tips: Practice spraying texture on a large piece of cardboard to get the hang of it. Cover everything up you don’t want texture on, it’s messy. Also if you have large globs of texture you are trying to hide, sand them down first.
Here’s a photo during the retexturing process:

Paint the Walls
This is pretty self explanatory – paint is a must-have for nearly every budget bathroom remodel. As far as wall paint goes, I chose a Behr Premium Plus Primer Semi Gloss, in Swiss Coffee. Swiss Coffee was a great choice because it made our small bathroom seem so much bigger. If you have a small bathroom like me, I’d definitely recommend using something light on the walls for your budget bathroom remodel.
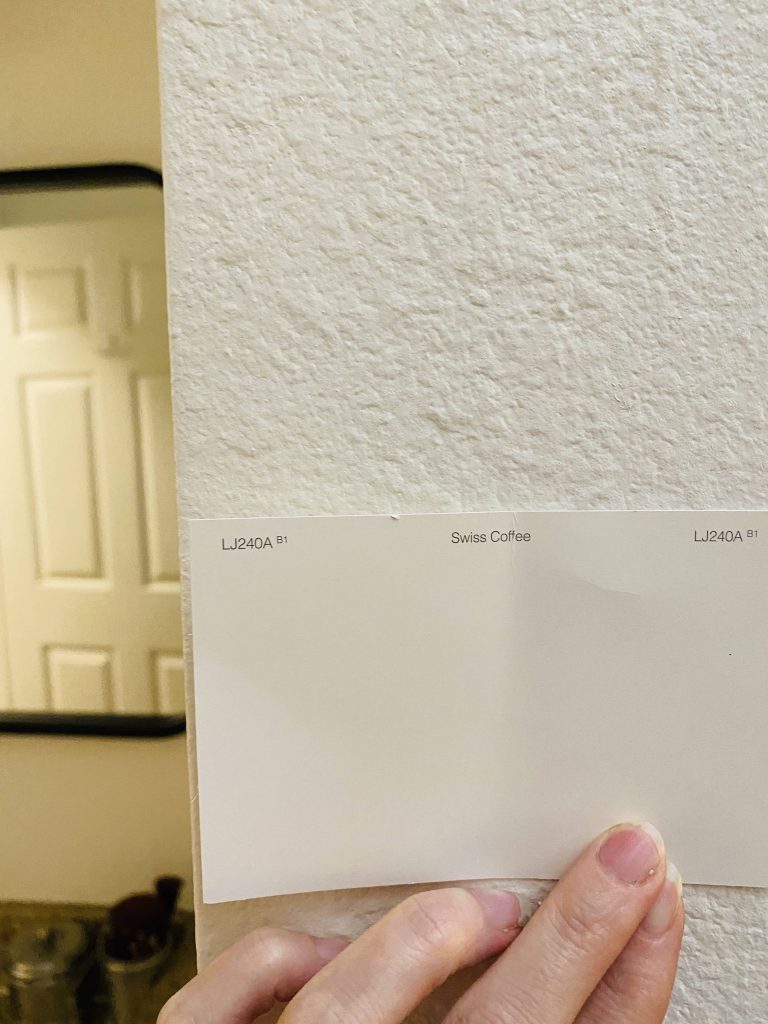
Swiss Coffee seems way lighter on the wall, than on the paint chip, but here’s a comparison for you. It’s hard to tell since our bathroom hardly gets any natural light. It’s basically a creamy, warm off white.
The Behr Premium Plus is thick! I went from a dark khaki to the off white of Behr Swiss Coffee, and I only needed 2 coats, no primer needed. It’s a little more expensive, but a time saver, so totally worth it for me.
I like to do the corners and details first with a brush, then take my roller and roll it out to try and hide the brush marks. Don’t forget the trim. Will make a big difference in refreshing that too. Here’s a shot during the painting process:
Paint the Hardware

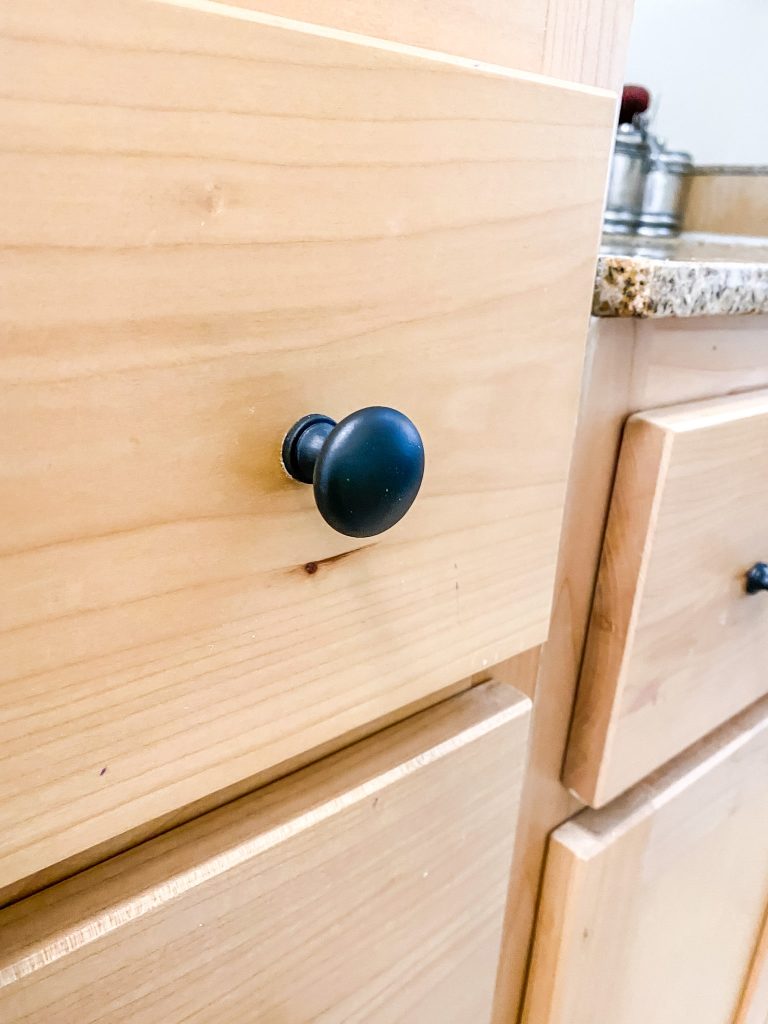
This was a new frontier for me, but it turned out great. I thought that having matte black hardware would make my budget bathroom remodel seem more modern, and would contrast nicely with the light colored walls.
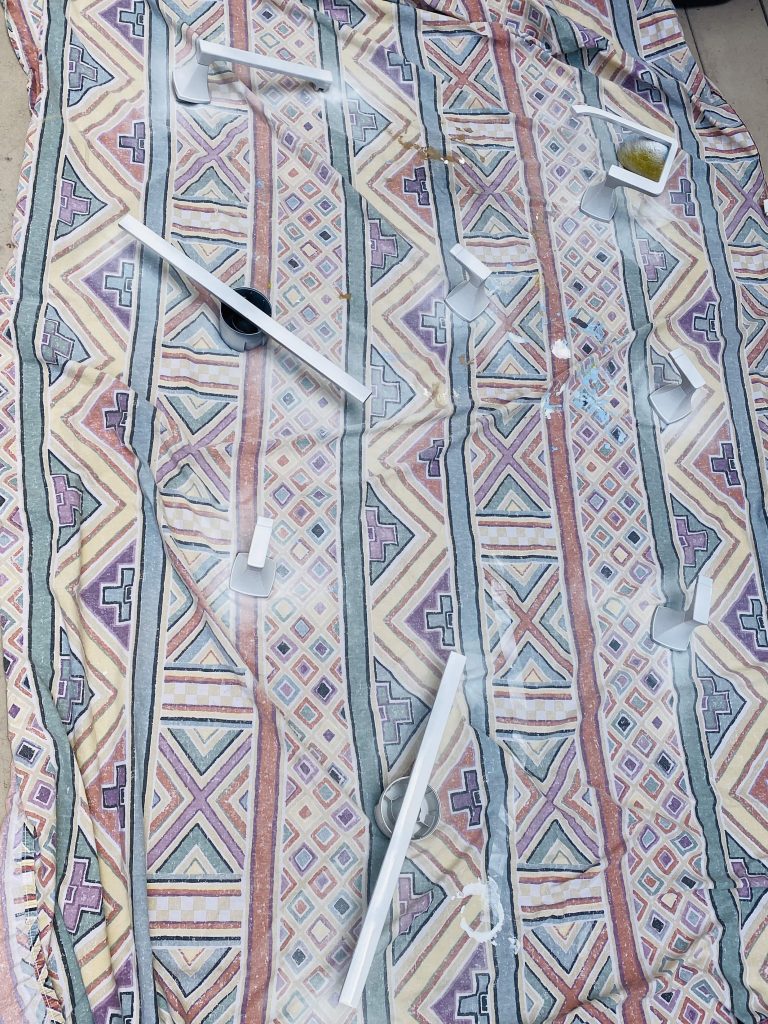
Since my hardware was fairly new, but in brushed nickel, I thought it would be worth a try to paint everything matte black, and keep this a true DIY budget bathroom remodel. I ended up spray painting my towel bars, toilet paper holder, vanity knobs, and even my shower curtain rod to stay within my budget.
Here are the products I used, in order of application (primer, paint, topcoat)
Here’s how to paint your bathroom hardware:
- First find a spot to do the painting outside – and cover everything you don’t want paint on with a tarp or old sheet. At first I put everything on an old sheet, but found an old cardboard box worked better, which I could transfer inside for drying.
- Next, give the hardware a light sanding with 300-400 grit sandpaper (fine or extra fine) will help all the paint stick. Try to avoid deep scratches but light scratching is ok.
- Then spray a light coat of primer at 8 or 10 inches away. The key to avoid drips is making it a light mist and do a few light coats right away.
- Next spray on your first coat of color – I chose Matte Black by Rustoleum.
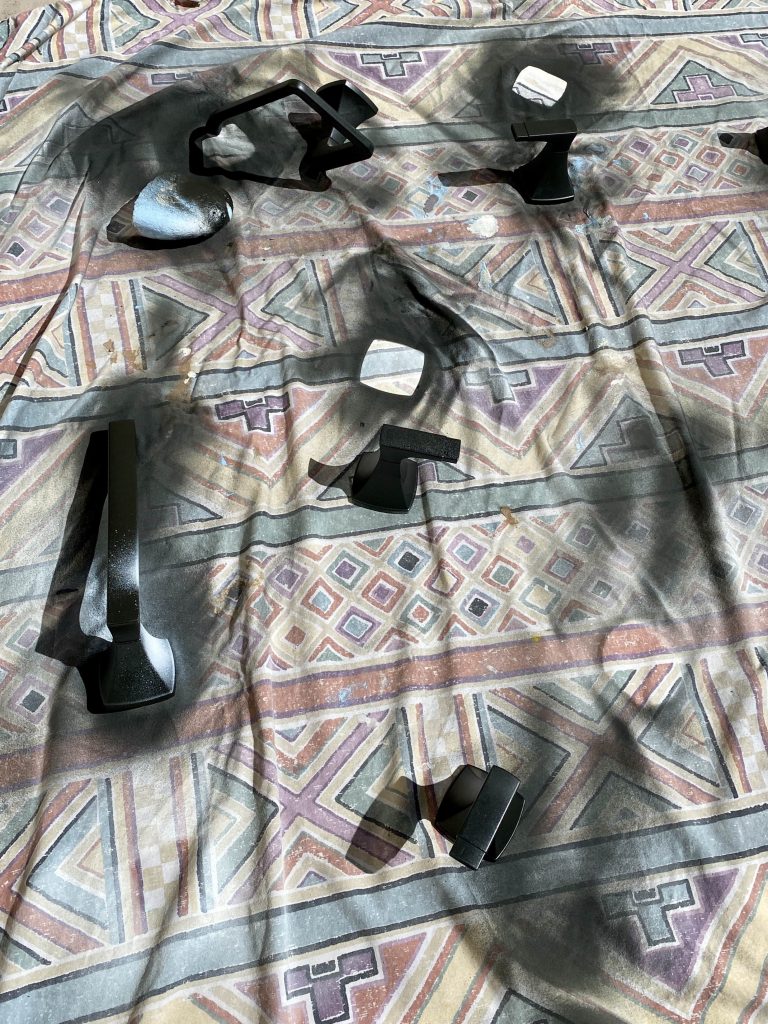
- Let dry, then spray a second coat of the same color – a light mist using several coats is the key to avoid drips. Turn things over, upside down, etc to get all the sides.
- A clear topcoat is key as your final step, since you’ll be touching your hardware – especially the towel bar. I used a flat topcoat but I think a satin might be better for reducing the amount of dust that sticks to these babies.
I’ll be honest the shower curtain rod was the most difficult, and I had to do like 10 coats but it looks pretty good. I’ll update this post to let you know how long it lasts.
If you don’t want to do any painting of your hardware, here are a couple of similar options that you can buy on Amazon (no paint required!), each less than $65 for the whole set:


Change Out Lights
Once the painting was over we were in the home stretch! Picking out lights is fun, and both of ours were old and hideous.
I went to my inspiration photos from Pinterest, and kept seeing a matte black modern globe-type light in a lot of the photos I liked.
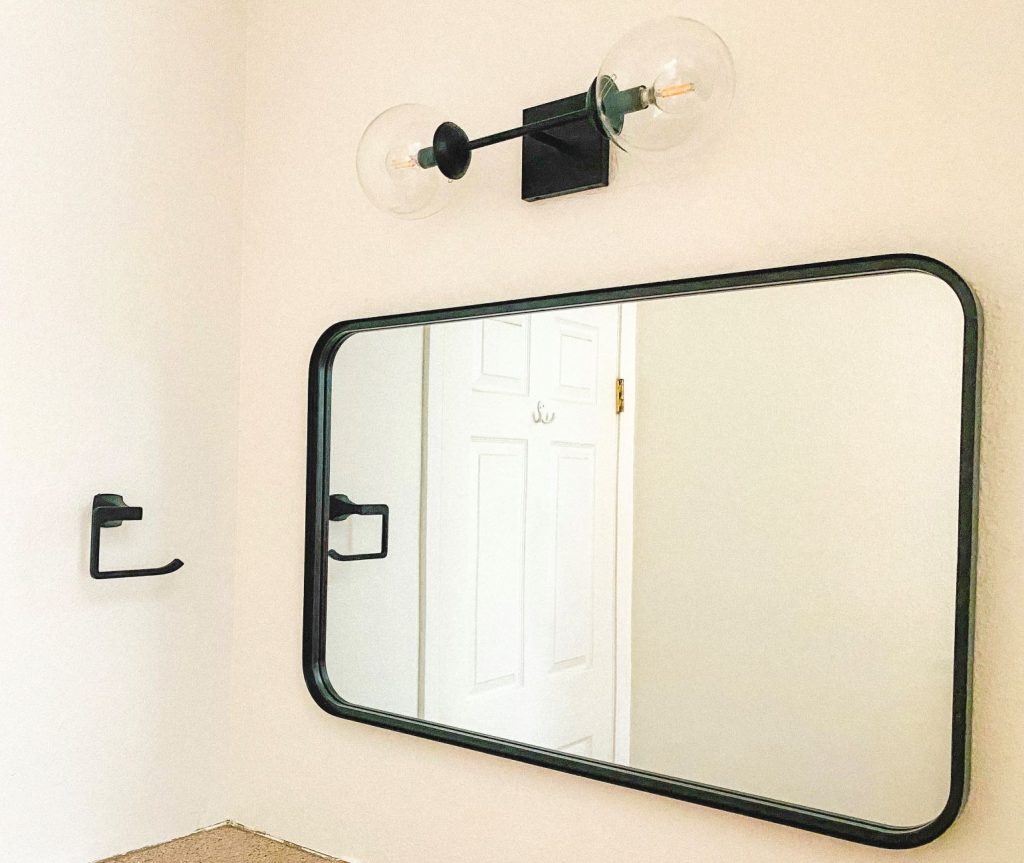
I found a similar one called the Trade Winds Angie 2-Light Wall Sconce, from Lights Online. It was only $70 after their 20% discount code from joining their email list, and 2-day shipping was free. This baby was also dimmable, which was an added bonus.
Pro Tip: If you pick out a light that has the same “style” or base as your existing, it’s super easy to swap out. Just follow the manufacturer’s instructions and turn off the power going to that location.
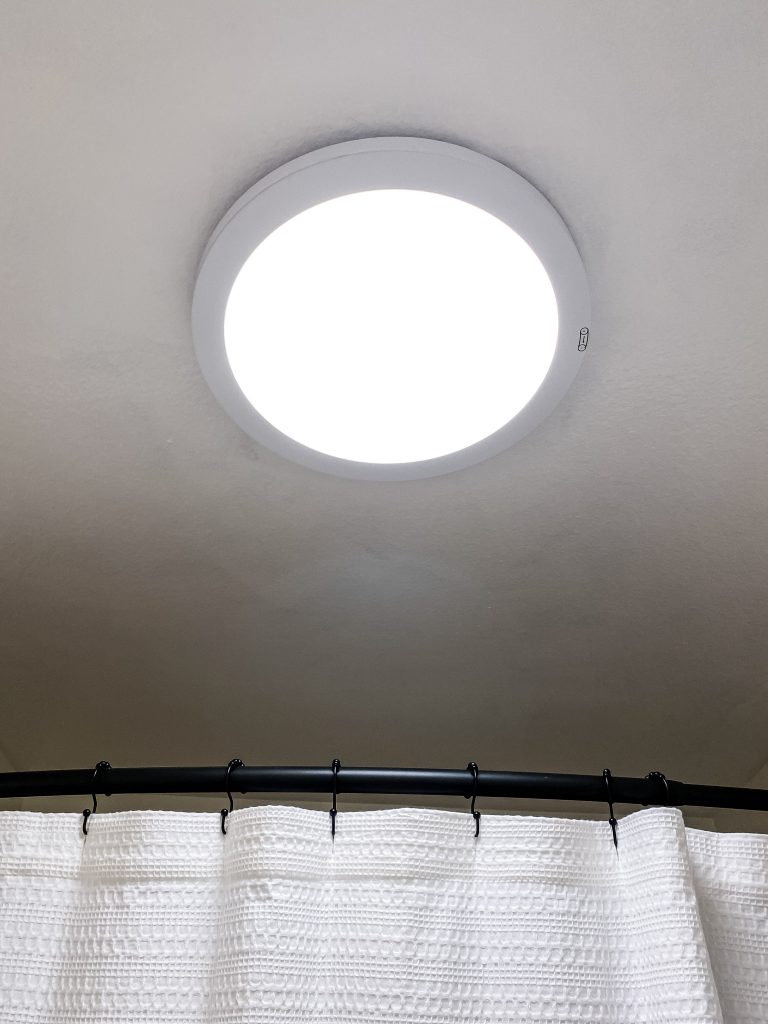
For the room with the shower, I had a rusty white “boob” light, which was just in terrible shape. I picked a nice super-low profile LED light from Home Depot, which was very bright but also dimmable. It’s called the Commercial Electric 15 in. White Round LED Energy Star Flat Panel Ceiling Flush Mount Fixture and was $50 from Home Depot. This helped make the whole room look modern and bright.
Change Out Mirror
One of the biggest changes for my budget bathroom remodel was the mirror. I originally intended to paint the existing antique looking mirror frame black. I did that, and it just reminded me of a mirror from a gothic-inspired bathroom so I had to resort to plan B, buying a new mirror.
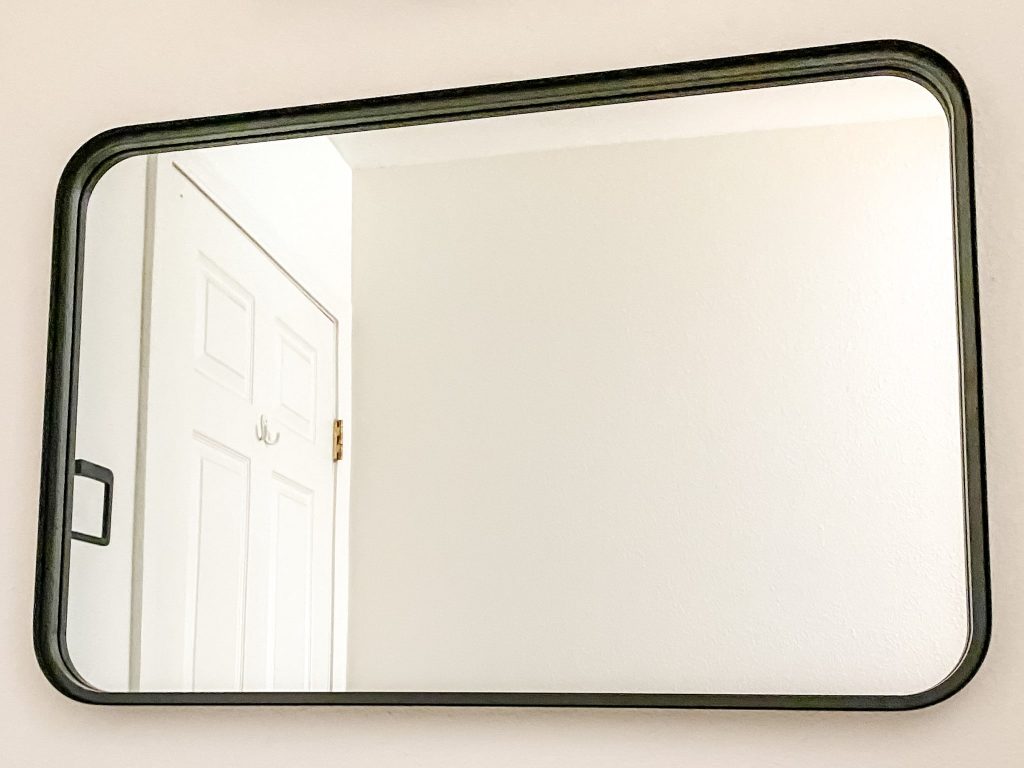
Lucky for me, Studio McGee just did a collaboration with Threshold from Target, and they have an awesome modern black mirror with rounded corners for only $70 (photo above).
I just ordered online at Target, and went and picked up at a local store. Target has lots of great deals for modern home decor so check their website, especially around holidays.
Here is another similar sized mirror with sharper corners from Amazon (affiliate link) for $133. I love the thin frame and think it would great over both a single or double vanity.

Clean Again
Next up was cleaning up all the mess and deep cleaning our shower, floors, and vanity like nobody’s business. Nothing makes a bathroom feel brand new like a deep clean!
Pro Tip: Magic Erasers really are magic and can even work on getting off mildew from grout in your shower, and can make old grimy tile look way better. Plus they are great for removing marks and fingerprints from doors, walls, etc.
Accessorize
Keep some money in your budget for a new toothbrush holder and soap dispenser, bathroom rug, shower curtain, towels, etc. Once you have an updated bathroom, you’ll want to update those too! I included a bunch of accessories below that will go with a modern, neutral color scheme.
For the bathroom accessories, I went with grey ceramic to tie in one of the colors from the countertop, from Amazon (affiliate links) for $25:

I’m including a few other modern and affordable accessory sets I considered (ranging between $31 – $41):


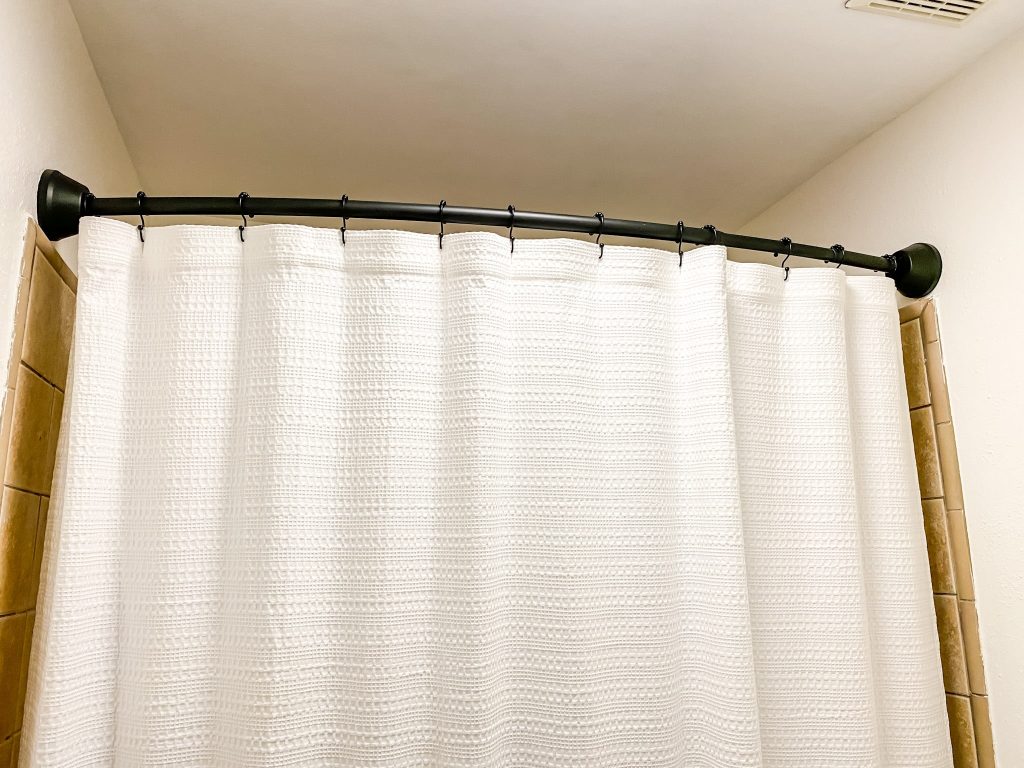
For the shower curtain, I like the simple waffle weave textured ones, or geometric patterns for a more modern look.
Pro Tip: To make the room seem bigger, remember to hang your shower curtain rod as high as the curtain allows.
Some great shower curtains from Amazon (affiliate links) are below (each less than $19):


The rug was really fun to shop for, since you can opt for something more trendy that you can always change out later. We wanted something cream and black or grey, and in a geometric design. Below are a couple of options less than $25 I found on Amazon (affiliate links).


Below is a more neutral, solid color rug from Wal-Mart (affiliate link). The Luxurious Plush and Braided Chenille Anti-Skid Overside Rug, in ivory, for $22. Since this was for our master bath, we wanted something soft for our feet – that would also cover up our older tile.

Wrap Up
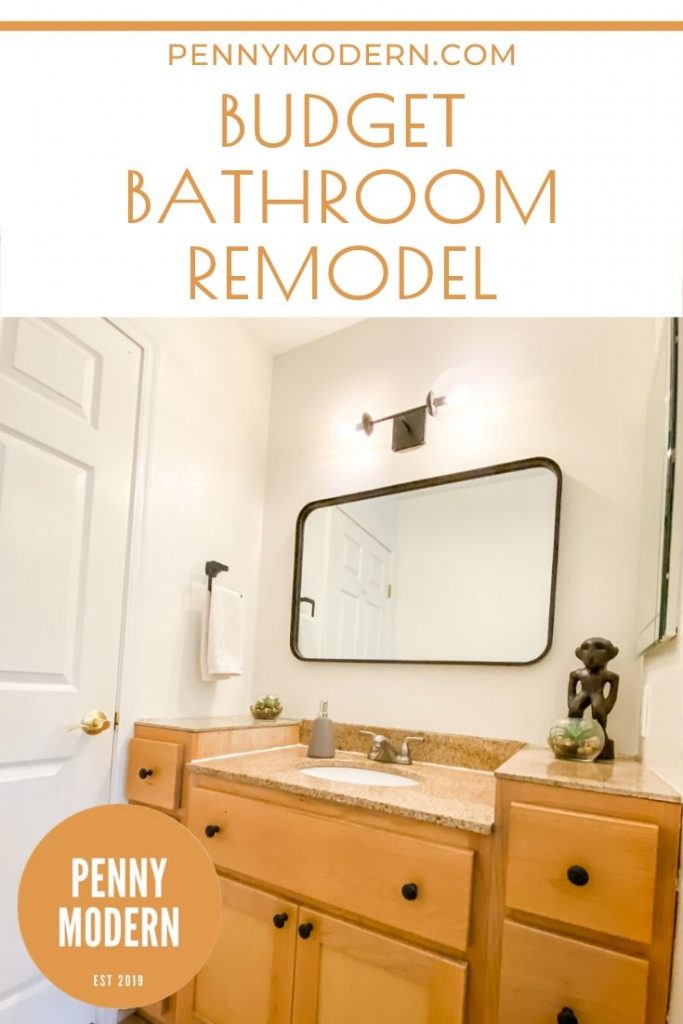
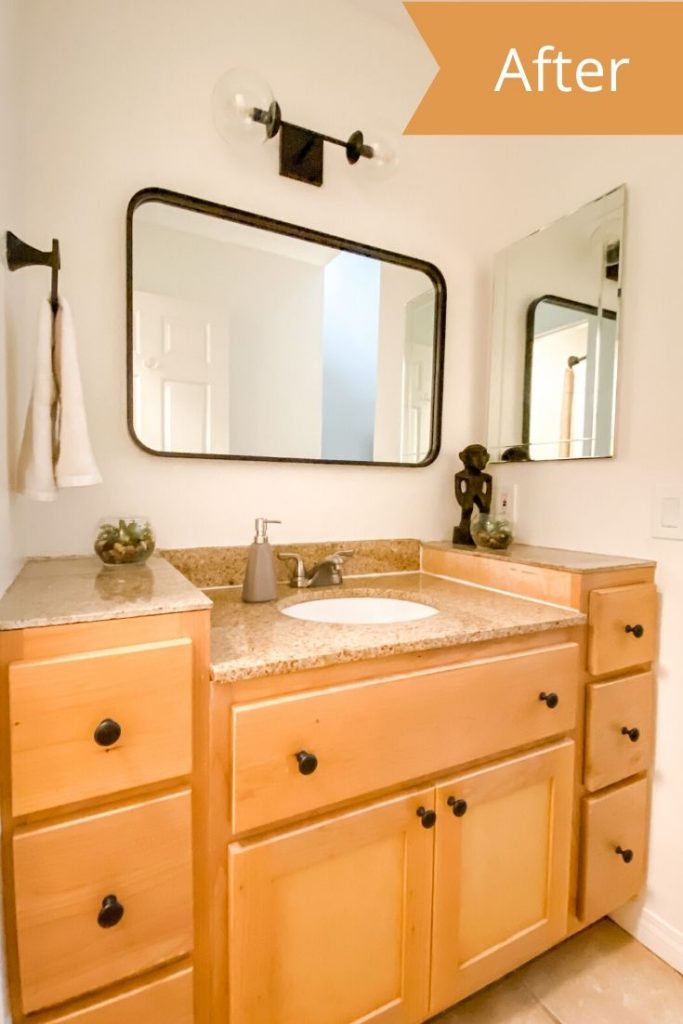
Well – there you go – a full breakdown of my budget bathroom remodel for less than $350. I hope you enjoyed seeing my bathroom go from beige builder to modern marvel. Here’s a final before and after shot of my budget bathroom remodel:

Trust me, the best way to tackle any new project is to do your research (Pinterest and YouTube work great!), make a plan, then just dive in. You can always fix mistakes if they happen when it comes to home makeovers.
Final tip: When buying stuff online – always check the return policy so you can return it if your plan changes or it doesn’t work with your decor scheme.
Check out my resource page for more sources of affordable modern home decor to help you with your own budget bathroom remodel!
Let me know what you think of my budget makeover, in the comments below…