Disclosure: This post contains affiliate links. As an Amazon Associate I earn from qualifying purchases, at NO extra cost to you.
Do you have a tiny, non-functional entryway or no entryway?
Do your loved ones leave their shoes/jackets/backpacks all over your living spaces and it’s making you crazy?
Wish you had a mudroom/drop zone for everyone to drop their stuff off when they come in?
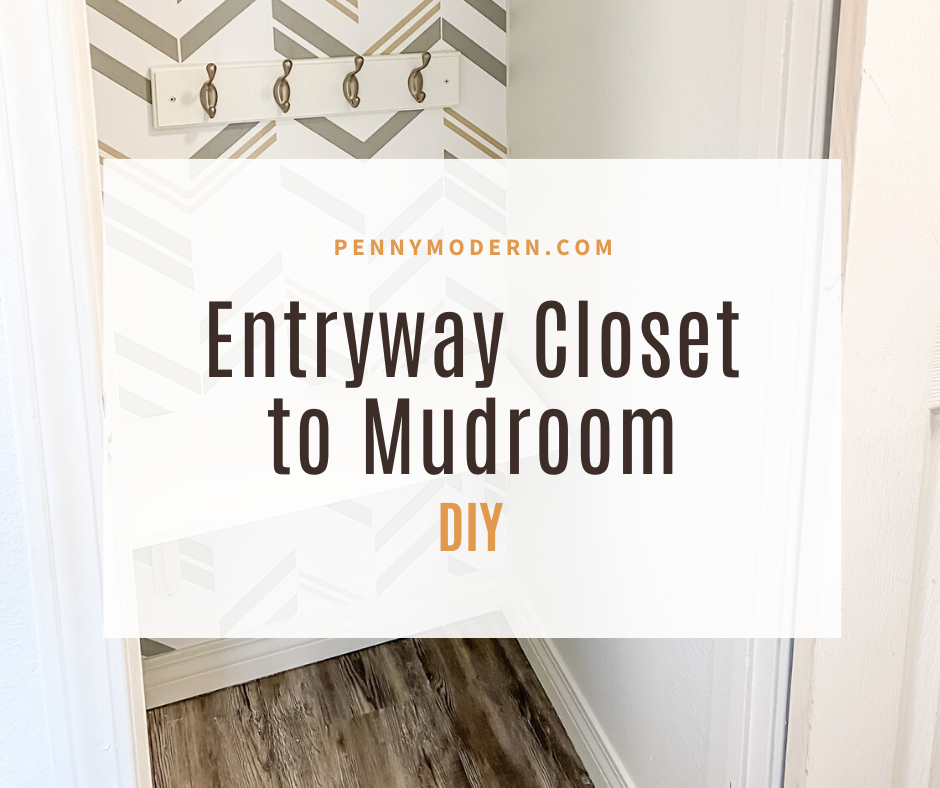
For me, the answer was absolutely YES to all of the above! So, I decided to do something about it, and transform our entryway closet to a mudroom.
I spent a lot of time thinking how I could take our entryway closet to a mudroom on a tight budget, and want to share it with you to show you how easy it is! It’s been a game changer, since now I have trained my toddler and hubby to drop their shoes, jackets, and backpacks in our mini-mudroom, and it’s made me feel more relaxed and at peace with my family.
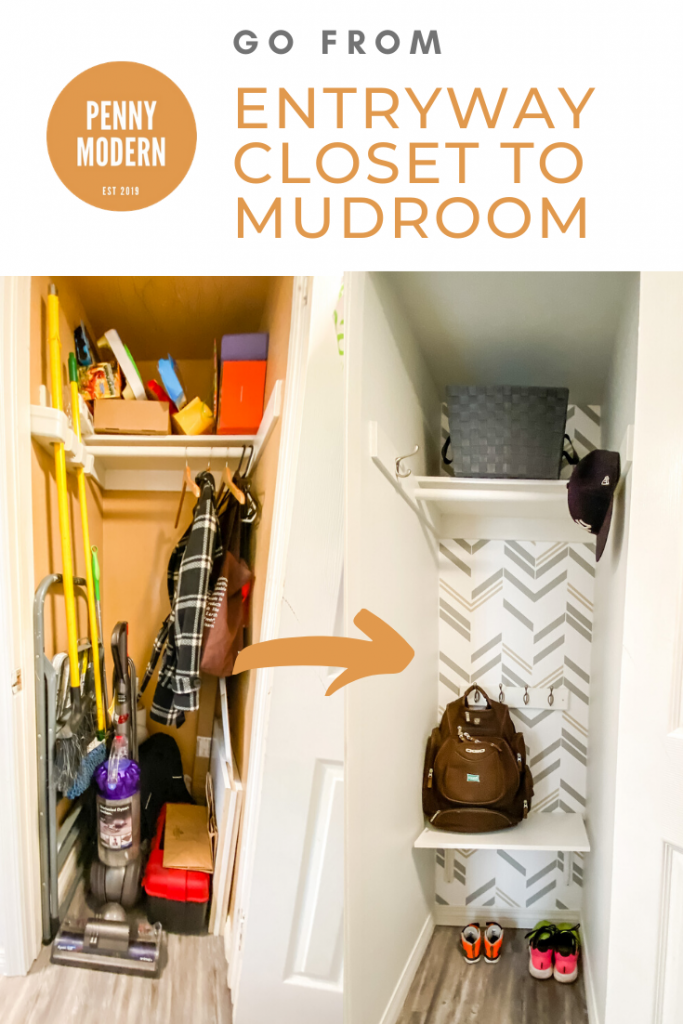
Here’s what I did go from entryway closet to mudroom:
- Clean out the closet (AKA the hardest part)
- Measure everything
- Gather or buy materials
- Paint the inside
- Put up the wallpaper
- Add hooks (lots) & mini-bench
- Put in your stuff & enjoy
Let me show you each step…
Step 1: Clean Out The Entryway Closet (AKA the hardest part)
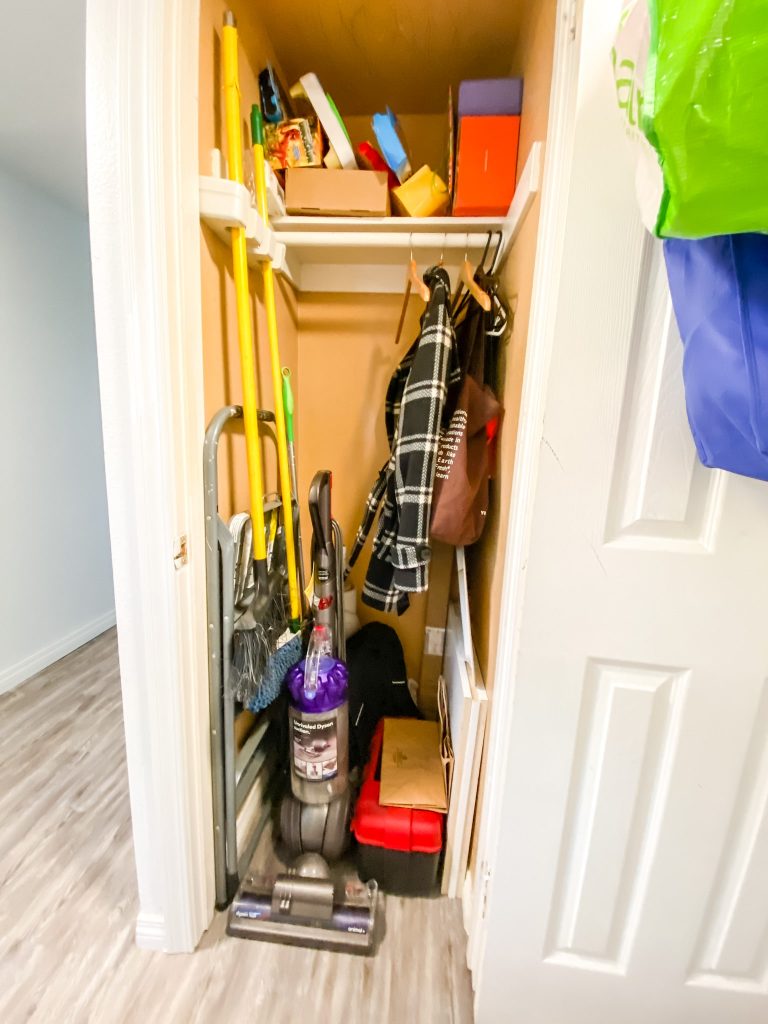
Our entryway closet was terrible, let’s face it. First things first, I had to clean out this baby.
The previous owners had not painted it when they painted the rest of the house – so it was a lovely shade of rust… We had a jumble of stuff thrown in there – from a vacuum, to toolbox, to toys, brooms, etc.
Honestly the hardest part was finding an alternate place for some of this stuff. The toys we purged or put in my toddler’s bedroom closet.
The vacuum we put upstairs in a spare bedroom closet. Our downstairs has luxury vinyl plank flooring, and the upstairs is carpeted – so it made more sense anyways.
The brooms and cleaning supplies we moved to our laundry closet (which I’ll get to organizing “someday.”
The toolbox went outside in our utility closet.
Step 2: Measure Everything
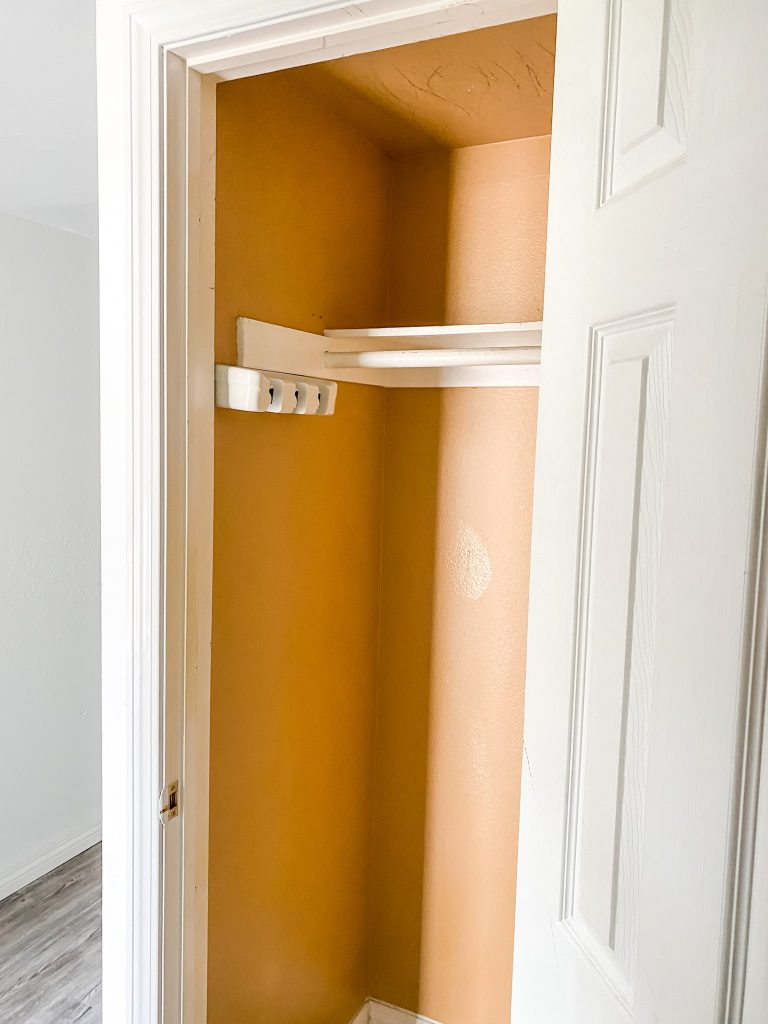
Next up was to measure the space inside, since I needed to buy enough wallpaper for the back wall, and create a mini-bench for backpacks.
We also removed our old broom holder, and relocated it to the laundry closet.
Step 3: Gather or Buy Materials for Your New Mudroom
Next up we needed to gather all the materials needed for our mini-mudroom makeover. I ended up spending about $62 for this entryway closet makeover since I was able to use quite a few items I already had around the house.
Here is my full materials list, which should total around $100 – $150 if you needed to buy everything on the list. I challenge you to try and use stuff you already have on hand to save $ (that’s what I did).
- Primer and Paint – 1 quart cans of each = $16 – $25 depending on brand.
- Peel-and-Stick Wallpaper – around $35 for 1 roll
- Hooks and Hook Rack – $20 – $37
- Shelf and Brackets – $7 – $18
- Drywall anchors & wood screws for installing everything – $9.
- Optional Shoe Rack – $17
Primer and Paint
First I needed some primer and paint, you may not even need this step if your closet matches the rest of your house. Thankfully I had some paint left over from a different remodeling project last year (I know you probably shouldn’t use year-old paint but let’s face it, we do it).
I used Killz Primer from Home Depot to cover up the ugly rust colored paint. It does the trick every time when you want to cover up dark colors with light ones! 1 quart is probably all you need for a closet, it runs around $9.
Peel & Stick Wallpaper
This was my favorite part of the whole project! I have always wanted to try some of the new peel and stick wallpapers and wasn’t sure where in my house I wanted to put it.
When I had the idea for a mini-mudroom – I thought putting wallpaper on the back wall would really elevate the space, and be a cute, thoughtful touch when guests grab their coat from the coat closet.
I used the wallpaper from the first photo below, around $34: RoomMates Gray Chevron Stripe Peel and Stick Wallpaper from Amazon (affiliate link). I also included a couple of other ones I considered that would give your mini-mudroom a modern look.
Hooks and Hook Rack
I knew I wanted hooks for things like backpacks, kids jackets, and hats, so some serious hooks were a must. The white coat rack was around $21 from Amazon, and the pack of 5 coat hooks was $15.99. If you only need a couple of coat hooks you can probably just pick some up for less at Home Depot, Target, or Wal Mart.
Shelf and Brackets
Creating a mini-bench for backpacks took me a while to figure out, as I wanted to do this on the cheap. So, I happened to be cleaning out our garage, and found something like the below heavy duty brackets ($18), which I had bought for a different project:
Then, I saw an awesome Rubbermaid 12″ x 24″ wood shelf at Home Depot for under $7, so picked it up to go with my brackets. My closet was only 25 inches wide so I needed something small, and this fit perfectly.
Another way to do this step inexpensively is to build a shelf out of wood or wood scraps, with wood brackets as support. Then paint to match the rest of your closet.
Drywall Screws and Wood Screws
We had a bunch of drywall anchors on hand, which you need for installing both the shelf and hook rack, to make sure they are stable. Home Depot has drywall and stud anchors that work beautifully for $9.
Optional Shoe Rack
At some point I want to add a small shoe rack, like this Closetmaid one below for only $17, but that will have to wait for now.
 Step 4: Paint the Inside
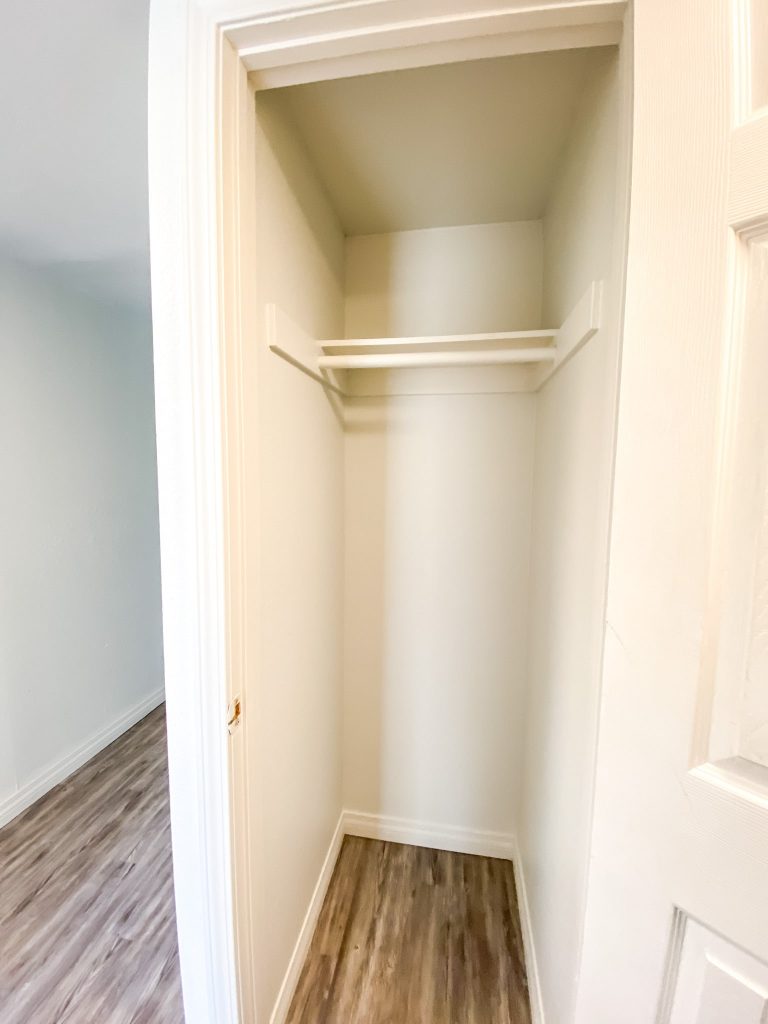
I painted the closet with 1 coat of Killz primer, and then 2 coats of the same color paint as the rest of our downstairs. I also painted the closet ceiling & trim the same color as the walls (which is how the rest of our home was painted). Looks better already!
Step 5: Put Up the Wallpaper
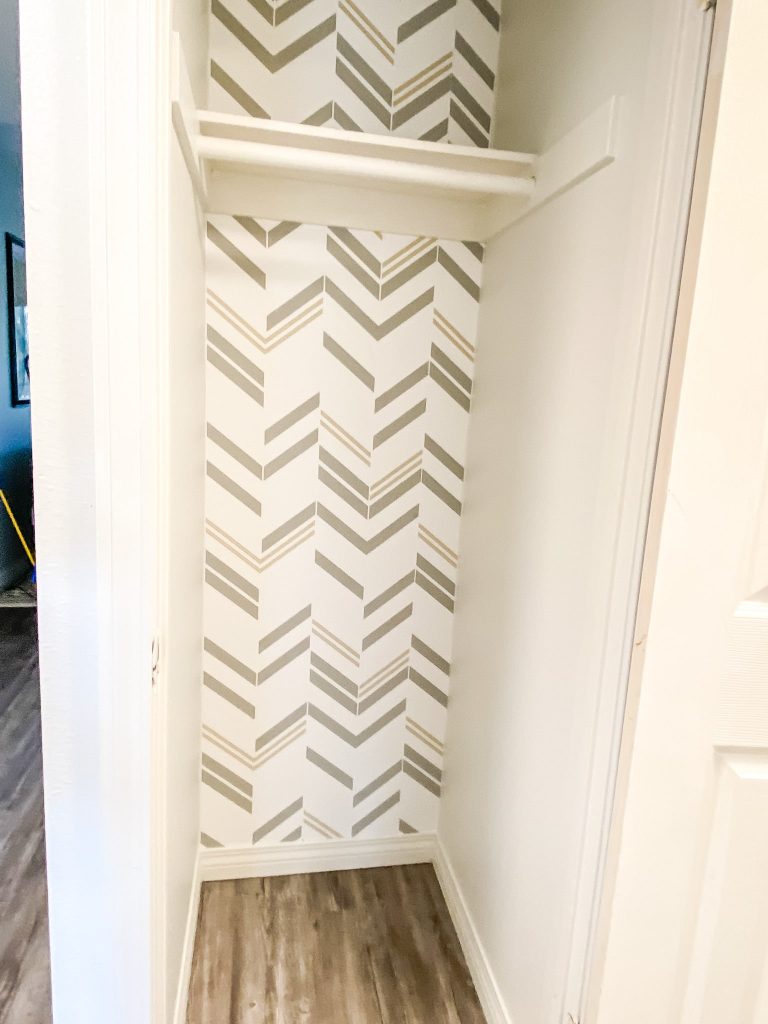
The RoomMates wallpaper was super easy to work with, the only hard part was matching up the pattern. I did this whole thing in about 45 minutes.
Luckily you can remove it if you “mess up” the pattern – so it makes if very easy to use this stuff.
Step 6: Add Hooks and Mini-bench
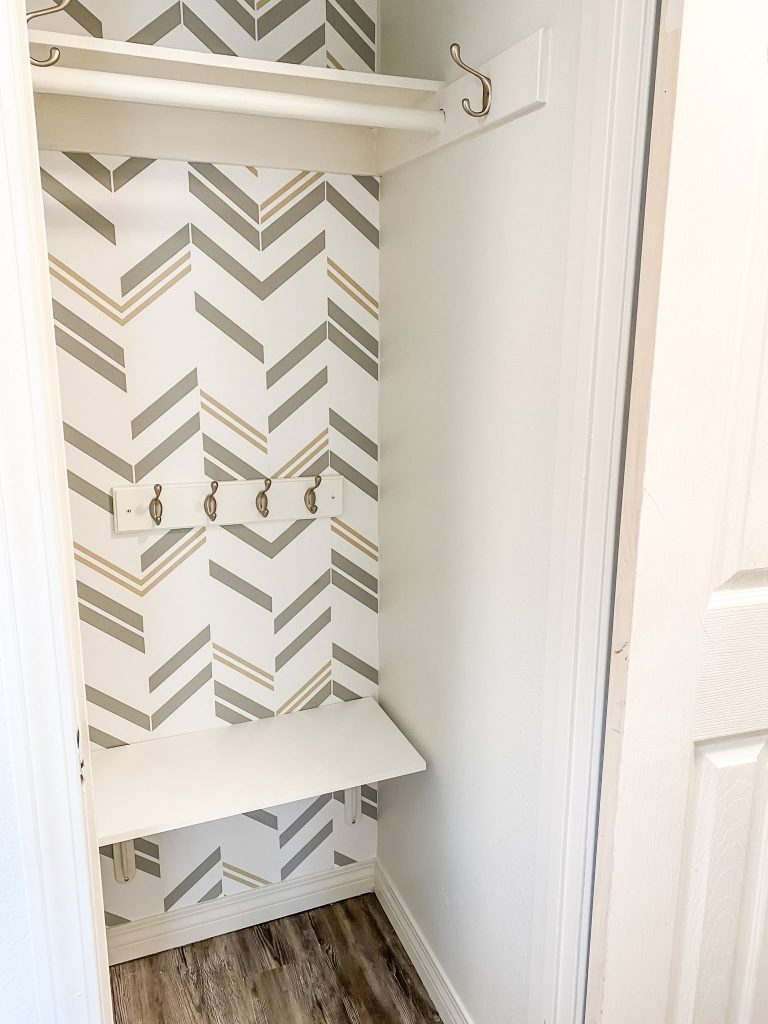
I’m spoiled since I have a handy husband, and he installed all my hooks and the little mini-bench using a drill and drywall anchors.
The mini-bench is made from 2 brackets and a little shelf from Rubbermaid. This was mainly to set backpacks on.
The mini-bench you could also make with spare wood you have on hand from other projects.
Step 7: Put in Your Stuff and Enjoy Your New Mudroom
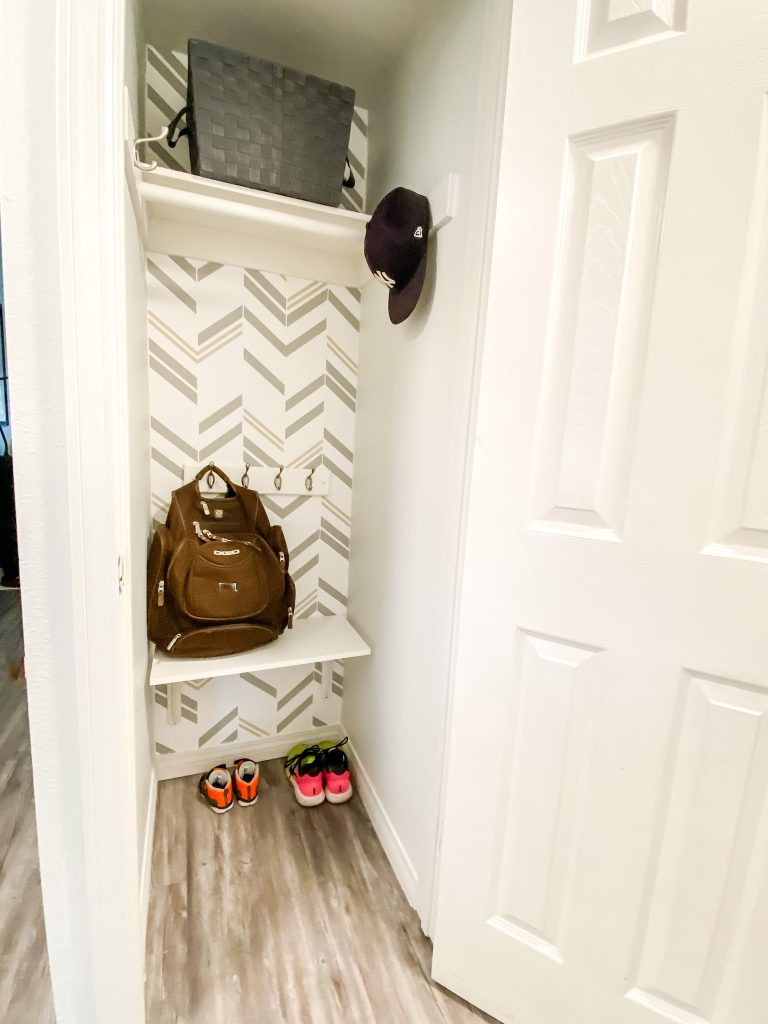
Once I put some of our stuff inside, it made me so happy. Finally a place for backpacks, shoes, hats, and coats that was beautiful and functional.
I added a bin on the top shelf to store our reusable grocery bags. At some point I’ll also add the small shoe rack from Closetmaid to store shoes.
Conclusion
Well this one was pretty short and sweet. We cleaned out our ugly entryway closet and completely transformed it into a working stylish, mudroom:
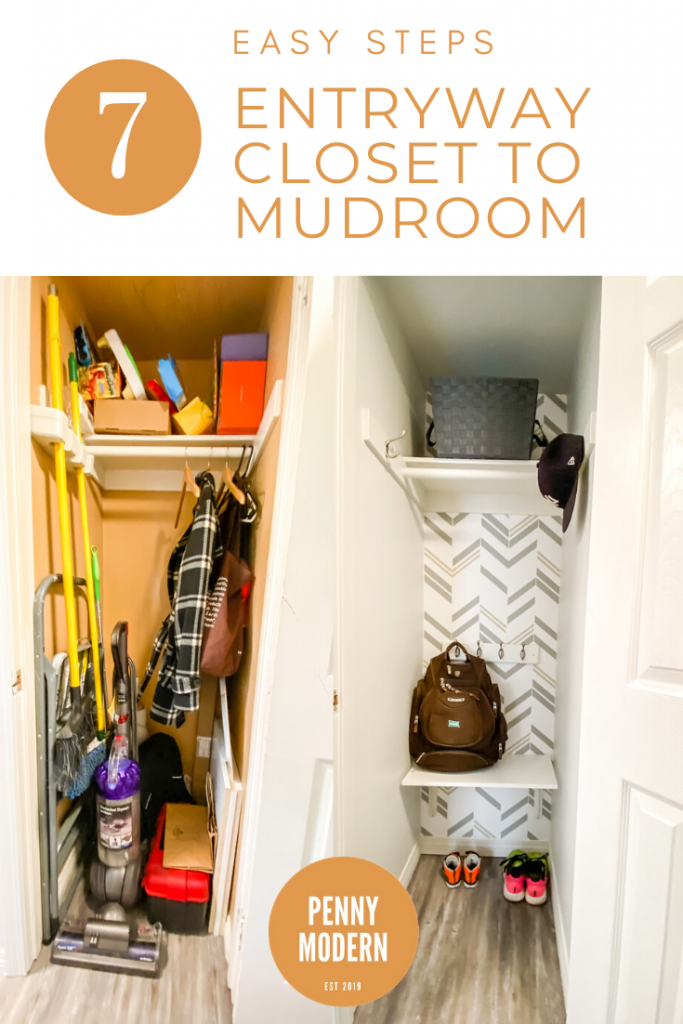
Our steps were first cleaning out and finding new homes for stuff like the vacuum and brooms. Then we measured, gathered our materials, painted, and put up the wallpaper. Finally we added in our hooks, coat rack, and mini-bench. Then it was just a matter of adding our coats and hats.
For around $60, this was totally worth it for me to keep me from having to pick up other people’s stuff all day. I hope it inspires you too!
Leave a comment below telling me what part about my entryway closet to mudroom transformation you liked the best!
For more ideas on how to spruce up any space on the cheap, check out my article, 5 Ways to Make a Room Cozy (on a budget).



It turned out really cute! I love the peel and stick wallpaper! Such a great idea!